
How to do authentication in Svelte using Stores?
User authentication is one of the crucial features of every web application.
Let's pen down the tasks for auth implementation.
- Create the Svelte application
- Login Component to load the login form.
- Post request to submit the data to the server. (We'll fake this)
- Action in the Component to handle the login request.
- Load the Component with the login success message.
- Prevent unauthorized access to the Component.
Now it's time to create the svelte application.
In this article, we'll use SvelteKit to create the Project Skeleton. SvelteKit provides out of the box features like backend, which is missing in Svelte. It also adds routing ability to the Svelte applications.
npm init svelte@next SvelteAuth

# Which Svelte app template? --> Skeleton project
# Use TypeScript? --> No
# Add ESLint for code linting? --> Yes
# Add Prettier for code formatting? --> Yes

cd SvelteAuth
yarn install

yarn dev
It'll load the application. Please refer the below screenshot
In this application, we'll use Bootstrap 5 to create the layout of our app.
Open the file app.html and modify the contents as
<!DOCTYPE html>
<html lang="en">
	<head>
		<meta charset="utf-8" />
		<meta name="description" content="" />
		<link rel="icon" href="%svelte.assets%/favicon.png" />
		<meta name="viewport" content="width=device-width, initial-scale=1" />
		%svelte.head%
		<link href="https://cdn.jsdelivr.net/npm/bootstrap@5.1.3/dist/css/bootstrap.min.css" rel="stylesheet" integrity="sha384-1BmE4kWBq78iYhFldvKuhfTAU6auU8tT94WrHftjDbrCEXSU1oBoqyl2QvZ6jIW3" crossorigin="anonymous">
	</head>
	<body>
		<div>%svelte.body%</div>
		<script src="https://cdn.jsdelivr.net/npm/bootstrap@5.1.3/dist/js/bootstrap.bundle.min.js" integrity="sha384-ka7Sk0Gln4gmtz2MlQnikT1wXgYsOg+OMhuP+IlRH9sENBO0LRn5q+8nbTov4+1p" crossorigin="anonymous"></script>
	</body>
</html>
Let's create a hook /hooks/auth.js under the src folder.
import { writable } from 'svelte/store';

const user = 'kukreti.ashutosh@gmail.com'
const pass = '123456'

export const store = writable(null);

let sessions = []

export const getUserDetails = async ( username, password ) => {
	if ( username === user && password === pass )
		return 1
}
In this article, we are not going to implement the API from the backend. But we'll fake the server response.
Create a file LoginComponent.svelte under the /src/Components. You need to create the Components folder.
<script>
	import { getUserDetails } from '../hooks/auth';
	import { store } from '../hooks/auth';

	let username = '';
	let password = '';
	let error = ''

	async function login() {
		const user = await getUserDetails( username, password )

		if ( user ) {
			console.log(user)
			$store = user
			if ( error ) error = ''
		}
		else {
			error = 'Incorrect username and password.'
			console.log("Incorrect username and password.")
		}

	}

</script>

<form on:submit|preventDefault={login} class="flex mx-auto col-6">

	<div class="mb-3">
		<label for="username" class="form-label">Username</label>
		<input type="email" class="form-control" id="username" bind:value={username} />
	</div>

	<div class="mb-3">
		<label for="password" class="form-label">Password</label>
		<input type="password" class="form-control" id="password" bind:value={password} />
	</div>

	<button type="submit" class="btn btn-primary">Submit</button>
	<div id="error_message" class="text-danger">
		<small>{error}</small>
	</div>

</form>
And then create a new file login.svelte under the routes directory
<script>
	import LoginComponent from '../Components/LoginComponent.svelte';
</script>

<LoginComponent />
And now try to load the page http://localhost:3000/login and hit the Submit button. You'll see the page similar to the screenshot
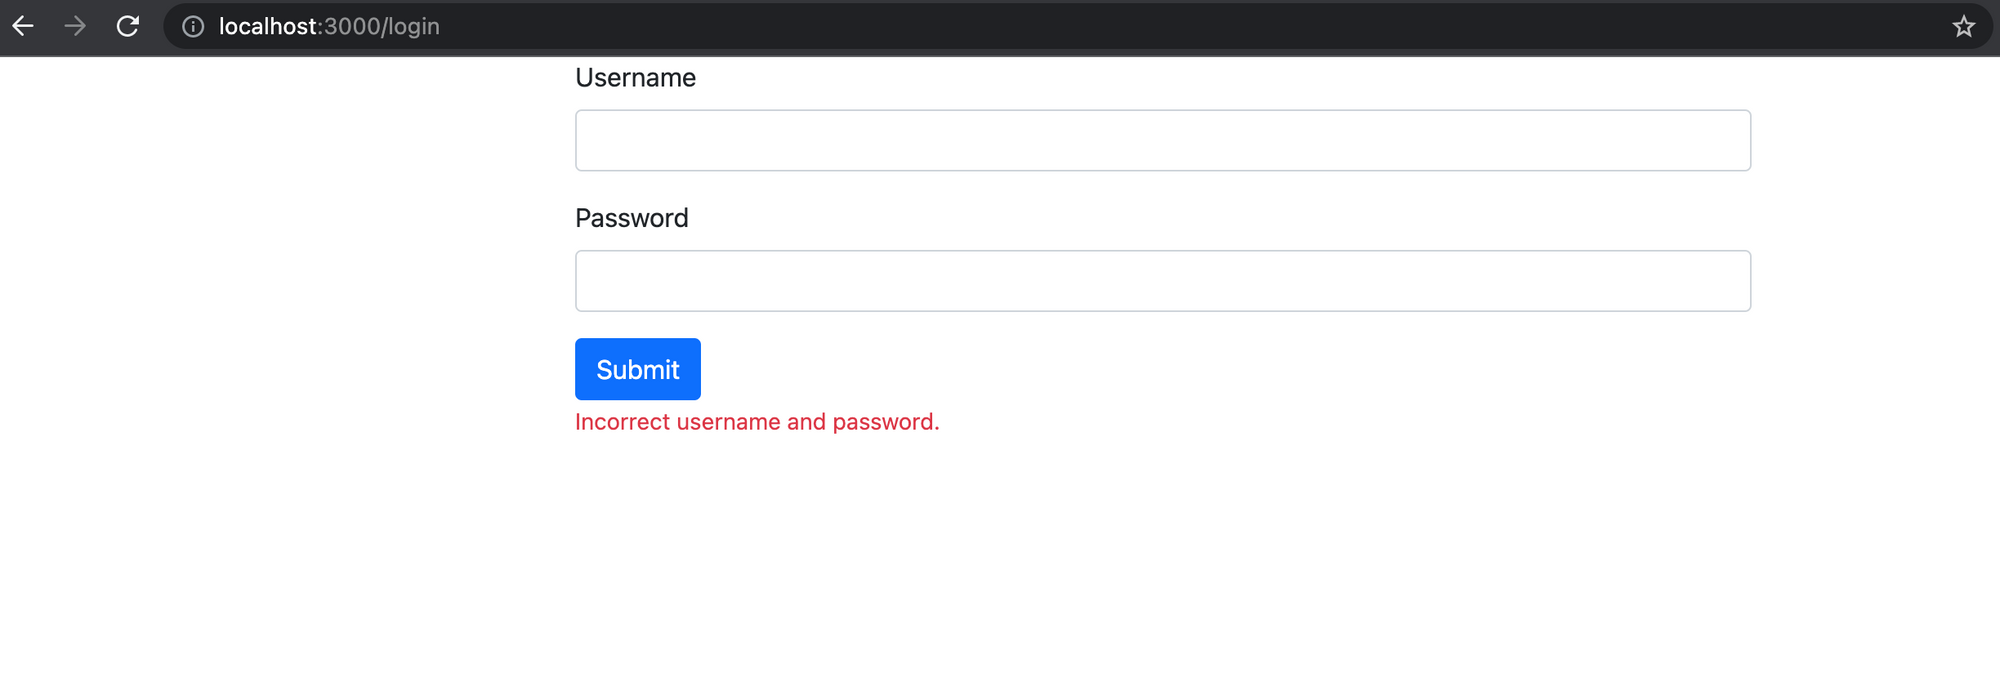
It looks correct because we haven't entered the correct username and password.
We also create one more Component, AfterLogin.svelte under the Components directory.
<main>
	User is logged in.
</main>
It's is very simple file that we'll load once the user successfully logged in to the system.
Lets create one more file under the routes i.e. dashboard.svelte
<script>
	import AfterLogin from '../Components/AfterLogin.svelte';
	import { store } from '../hooks/auth';
	import LoginComponent from '../Components/LoginComponent.svelte';

</script>

{#if $store != null }
	<AfterLogin />
{:else }
	<LoginComponent />
{/if}
We import the writable store from the auth.js.
That's all. It will work just like below gif :). Happy Svelting
We forgot to implement logout here.
Create a new file logout.svelte under the routes.
<script>
	import { store } from '../hooks/auth';
	$store = null;
</script>

<p> User logged Out from the system.</p>
We set the store value to null. And user will be logged out from the system.
In this article, we learn how to implement the Authentication in Svelte using stores. In further articles, we learn how to do Auth using localstorage.
AK Newsletter
Join the newsletter to receive the latest updates in your inbox.

