
A guide of Slots in Svelte
As per the developer.mozilla.org, The <slot> HTML element—part of the Web Components technology suite - is a placeholder inside a web component that you can fill with your markup, which lets you create separate DOM trees and present them together.
It is represented as <slot>.
In Svelte, we use <slot> for communication between the components. The <slot> help create reusable UI components.
In this article we learn how to use svelte and create the reusable components with examples.
Create a file SlotComponent.svelte and update the following code in it:
<div class="card">
    <slot name="name"></slot>
    <slot name="location"></slot>
</div>

<style>
    .card {
        width: 400px;
        border: 1px;
        border-radius: 2.5px;
        box-shadow: 2px 2px 10px rgba(0,0,0,0.1);
        padding: 1em;
    }
</style>
And in the App.svelte
<script>
import SlotComponent from './SlotComponent.svelte';
</script>
<main>
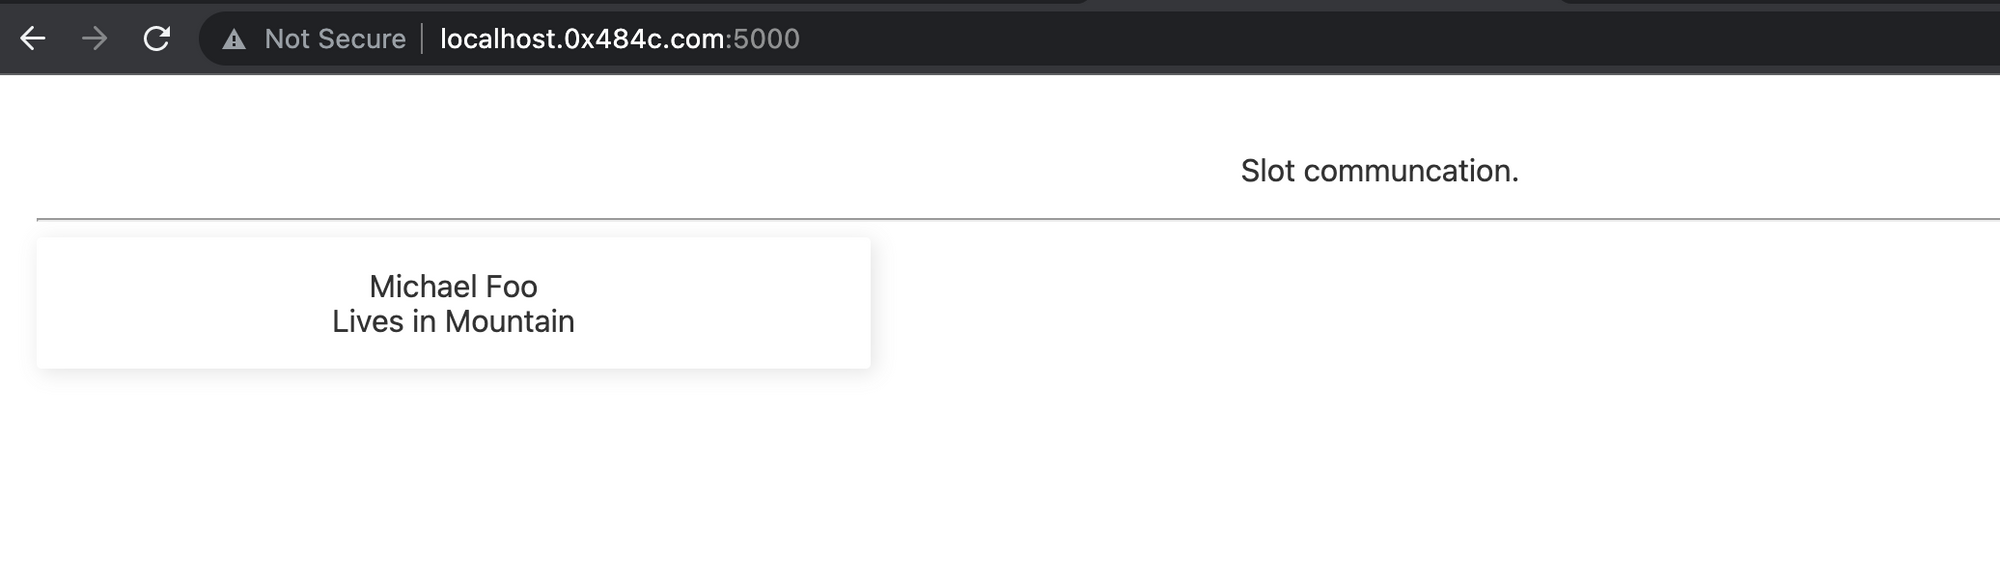
<p> Slot communcation. </p>
<hr/>
<SlotComponent>
<div slot="name">Michael Foo</div>
<div slot="location">Lives in Mountain</div>
</SlotComponent>
</main>
<style>
main {
text-align: center;
padding: 1em;
max-width: 240px;
margin: 0 auto;
}
h1 {
color: #ff3e00;
text-transform: uppercase;
font-size: 4em;
font-weight: 100;
}
@media (min-width: 640px) {
main {
max-width: none;
}
}
</style>
Open the page, it will look like below screenshot.
What happens if we duplicate the slot in the Parent component. Let try to update it
<div class="card">
    <slot name="name"></slot>
    <slot name="name"></slot>
    <slot name="location"></slot>
</div>

<style>
    .card {
        width: 400px;
        border: 1px;
        border-radius: 2.5px;
        box-shadow: 2px 2px 10px rgba(0,0,0,0.1);
        padding: 1em;
    }
</style>
On the webpage, you'll see the name Michael Foo appears twice :). Now, you can delete it. It is just for testing the slots.
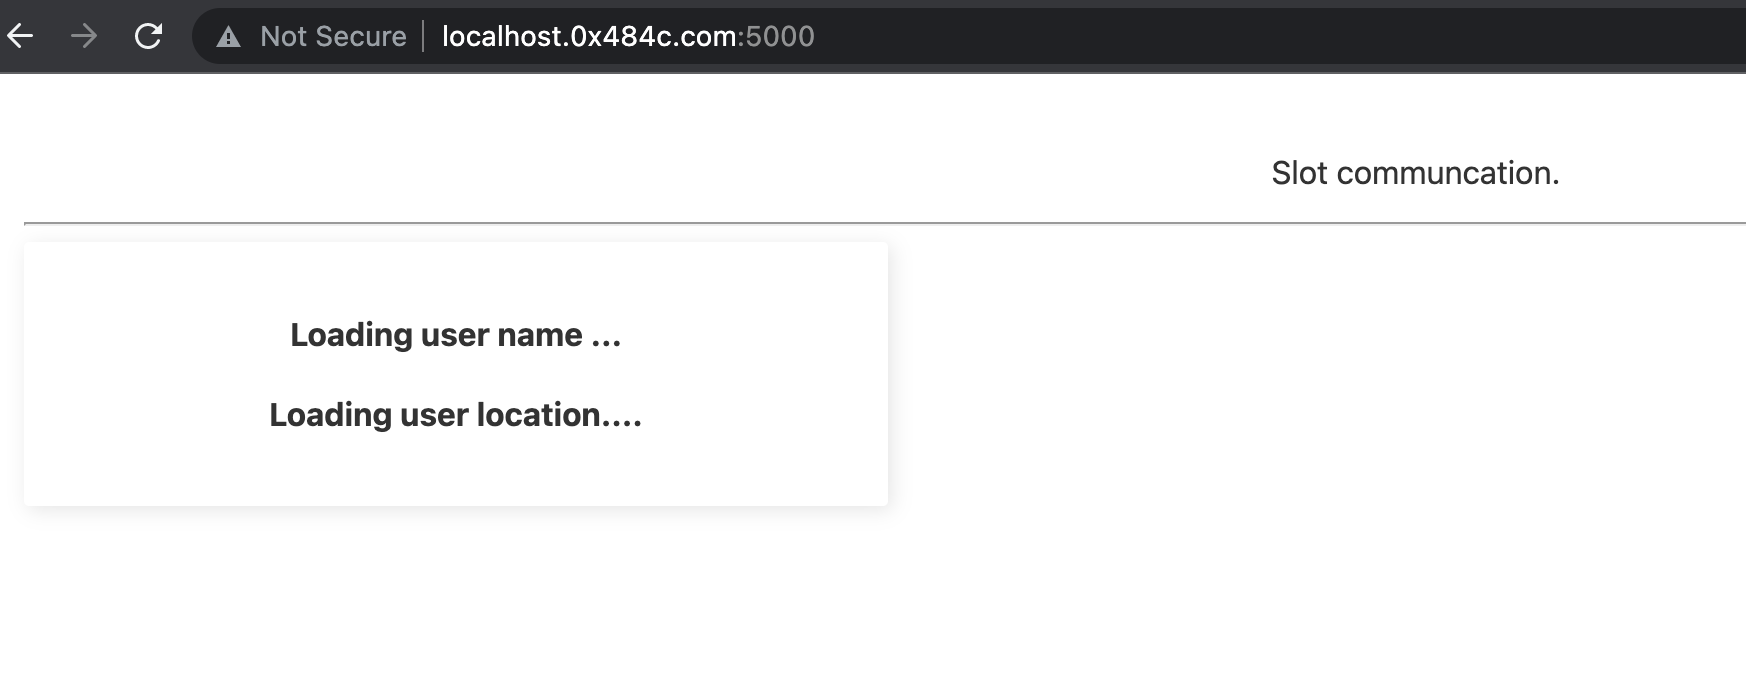
Sometimes, when we are loading the slots dynamically (Ex- using the fetch API). We need to show some message, while our application receives the actual data. This is called as fallbacks.
In the SlotComponent.svelte file,
<div class="card">
    <slot name="name">
        <h4>Loading user name ...</h4>
    </slot>
    <slot name="location">
        <h4>Loading user location....</h4>
    </slot>
</div>

<style>
    .card {
        width: 400px;
        border: 1px;
        border-radius: 2.5px;
        box-shadow: 2px 2px 10px rgba(0,0,0,0.1);
        padding: 1em;
    }
</style>
And in the App.svelte
<script>
    import SlotComponent from './SlotComponent.svelte';
</script>

<main>
    <p> Slot communcation. </p>
    <hr/>

    <SlotComponent />

</main>
And on the webpage, you'll see
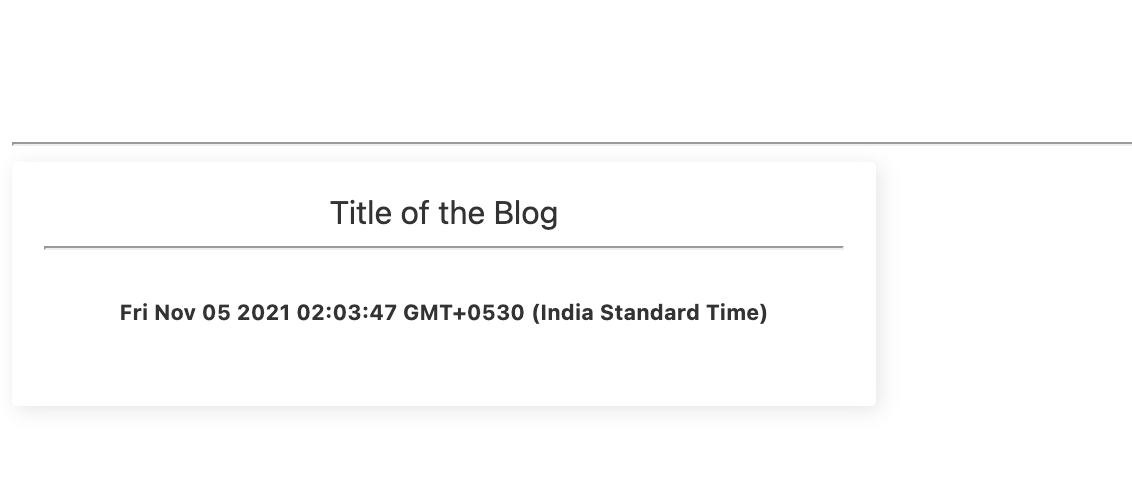
Fragments
The <svelte:fragment> element allows us to place the content in a named slot. Fragments have no external dependencies and are independent of DOM elements.
Let's say, we have a blog and we want to show the title and date of the blog.
<div class="card">
    <slot name="blog">Title of the Blog</slot>
    <slot name="body"></slot>
</div>
In the App.svelte
<script>
    import SlotComponent from './SlotComponent.svelte';
    let date = new Date()
</script>

<main>
    <p> Slot communcation. </p>
    <hr/>

    <SlotComponent>
        <svelte:fragment slot="date">
            <hr />
             <h6>{ date }</h6>
        </svelte:fragment>
    </SlotComponent>

</main>

<style>
	main {
		text-align: center;
		padding: 1em;
		max-width: 240px;
		margin: 0 auto;
	}

	h1 {
		color: #ff3e00;
		text-transform: uppercase;
		font-size: 4em;
		font-weight: 100;
	}

	@media (min-width: 640px) {
		main {
			max-width: none;
		}
	}
</style>
On the webpage, you'll see the content just like the below screenshot.
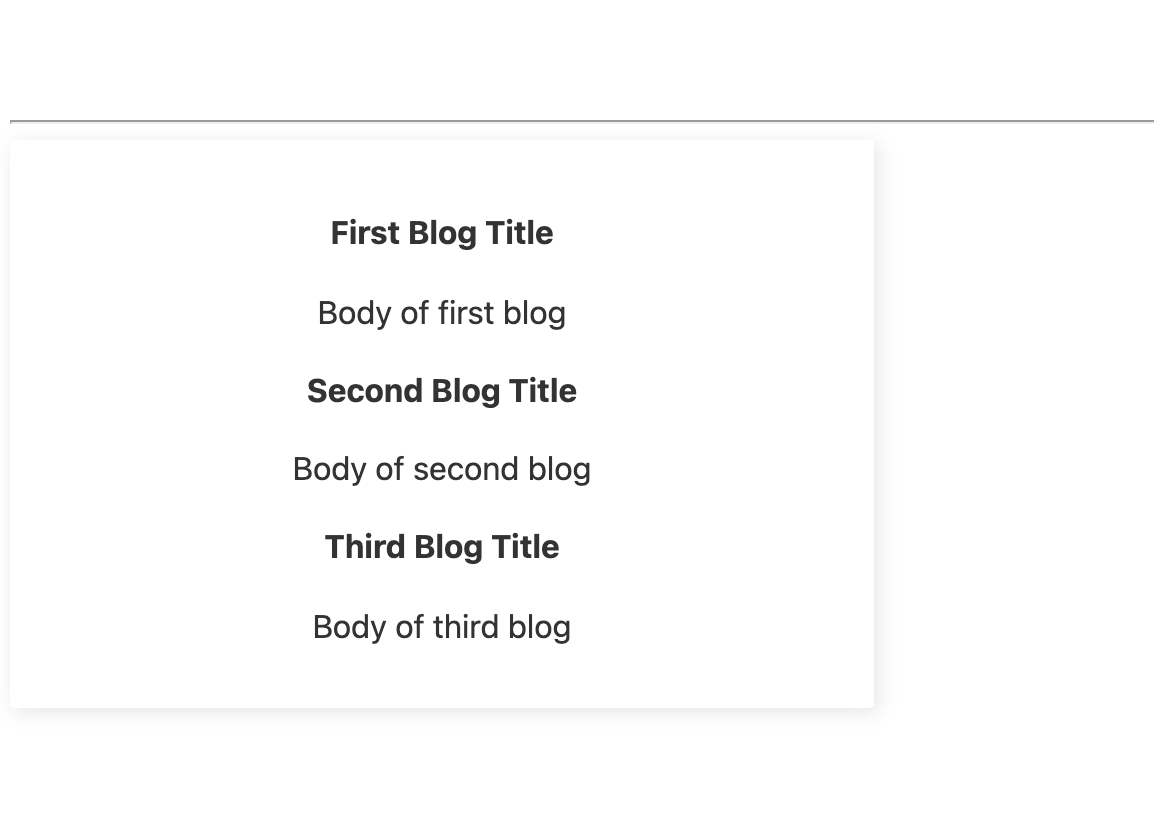
Data through Props
In slots, we can also pass the data using the props. There is a directive let: reserved for this operation.
In SlotComponent.svelte
<script>
    import SlotComponent from './SlotComponent.svelte';
    let date = new Date()
</script>

<main>
    <p> Slot communcation. </p>
    <hr/>

    <SlotComponent let:blogs>
        {#each blogs as blog}
            <h4>{blog.title}</h4>
            <p>{blog.body}</p>
        {/each}
    </SlotComponent>

</main>

<style>
	main {
		text-align: center;
		padding: 1em;
		max-width: 240px;
		margin: 0 auto;
	}

	h1 {
		color: #ff3e00;
		text-transform: uppercase;
		font-size: 4em;
		font-weight: 100;
	}

	@media (min-width: 640px) {
		main {
			max-width: none;
		}
	}
</style>
We created a blog object, though we can get the blog object using the ajax query. In the App.svelte
<script>
    import SlotComponent from './SlotComponent.svelte';
    let date = new Date()
</script>

<main>
    <p> Slot communcation. </p>
    <hr/>
	// let:blogs is the reserved keyword for this
    <SlotComponent let:blogs>
        {#each blogs as blog}
            <h4>{blog.title}</h4>
            <p>{blog.body}</p>
        {/each}
    </SlotComponent>

</main>

<style>
	main {
		text-align: center;
		padding: 1em;
		max-width: 240px;
		margin: 0 auto;
	}

	h1 {
		color: #ff3e00;
		text-transform: uppercase;
		font-size: 4em;
		font-weight: 100;
	}

	@media (min-width: 640px) {
		main {
			max-width: none;
		}
	}
</style>
Refresh the webpage, you can see
Thats all for slots. In the Next article, we learn about other ways of passing the data to the components. See you in the next tutorial.
AK Newsletter
Join the newsletter to receive the latest updates in your inbox.

